So I went through some struggles with doing the owl boy gif mainly because I was an idiot who makes things more complicated than I should.
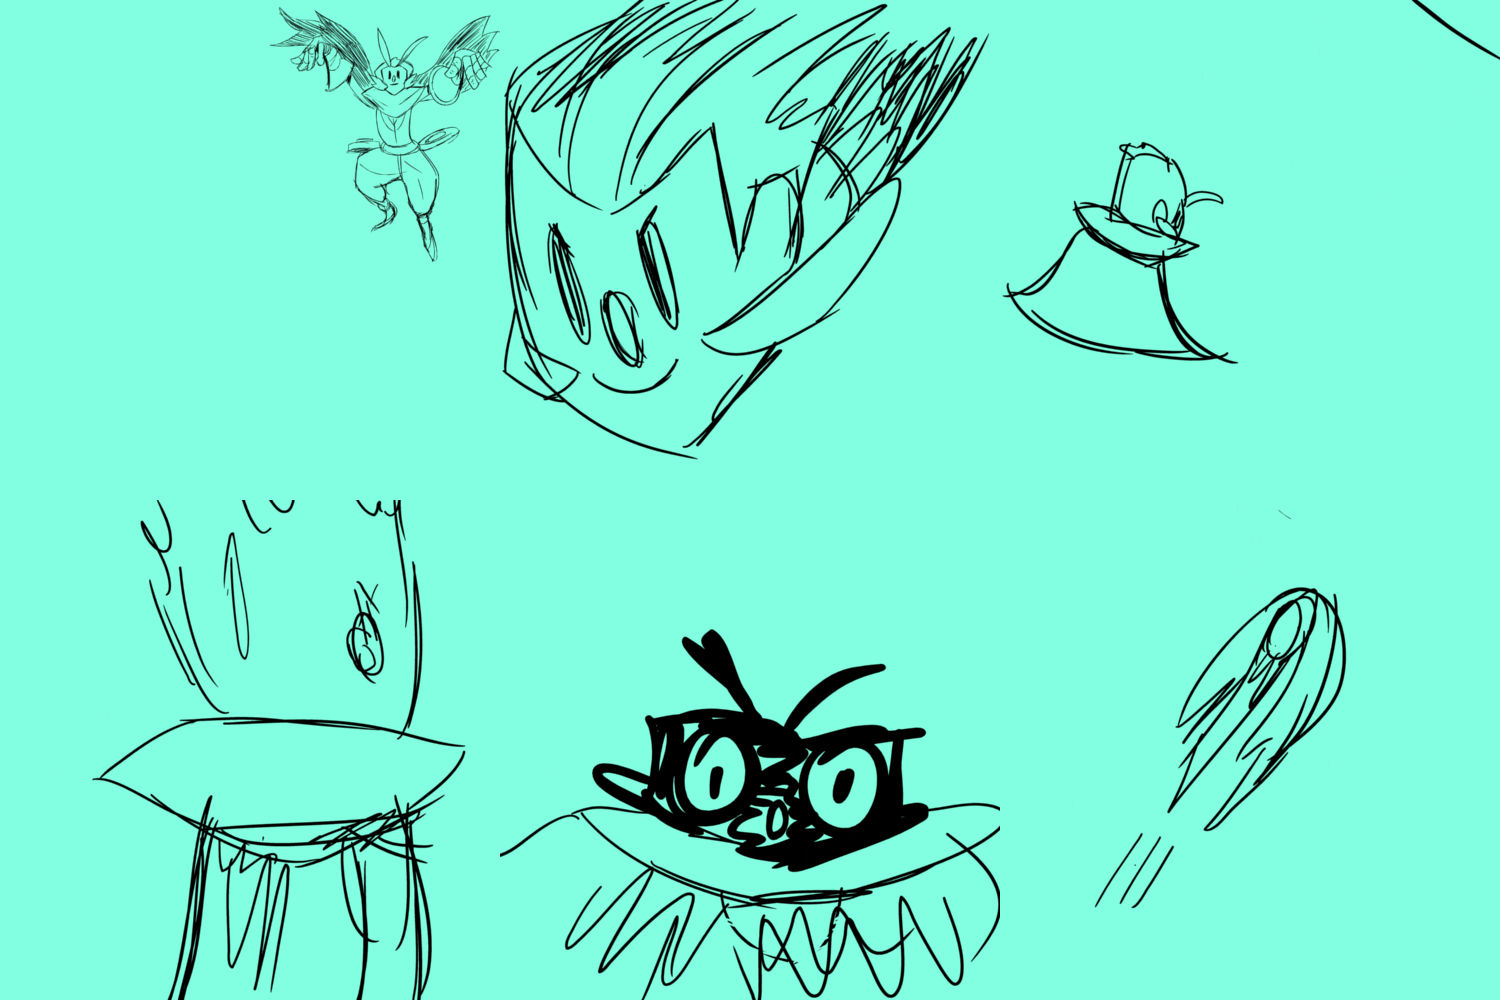
So first I did what I usually do- draw out the keyframes in toon boom, the software I'm most comfortable with:

Nothing that needs too much explantation. Here, its more or less a storyboard more than animation.
But the next part is where I fucked up- I chose to do everything- and I mean everything- else in photoshop. I figured that I did it for the other ones, so this shoulnt be so hard.
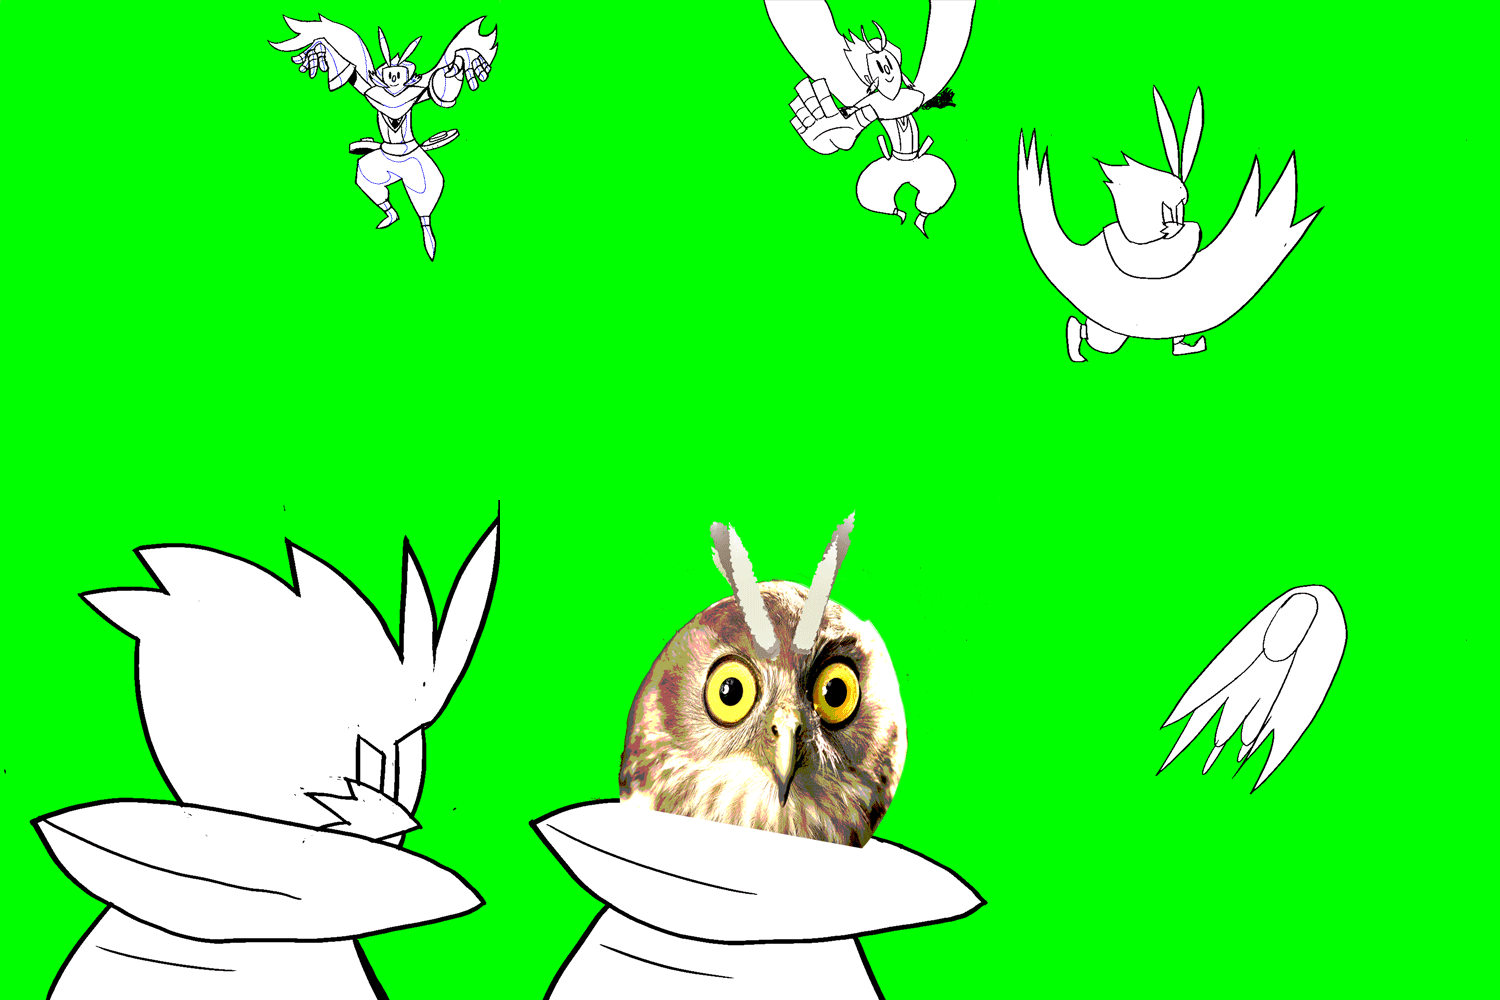
But this was wayyy too long for a beginner to completely manage in photoshop. The layer management alone was a headache. So next, I did the cleanups over a few days:

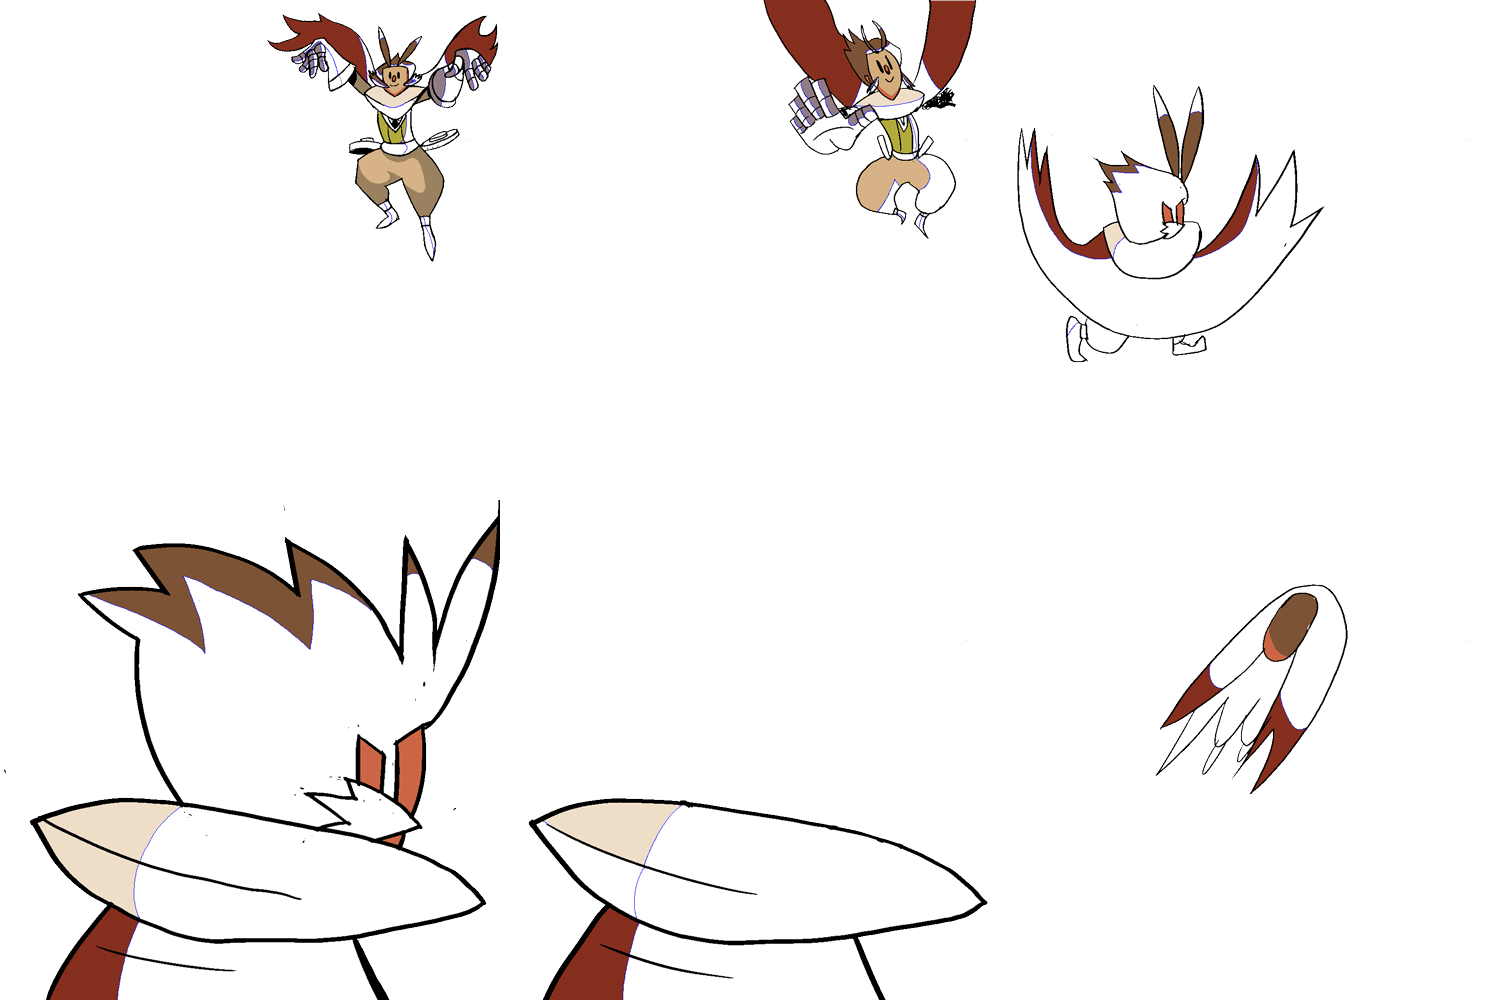
Now, this is purely layer animation, there are no video layers here. Normally, at this stage, I alias the lines and export it with blue shading lines, then I import it back into photoshop as an image sequence. This turns it into a "video layer" which is essentially just one big timeline like in flash or toon boom except its worse. From there, I just take the paint bucket, and fill. But that's when the character designs are simple, and the colors are basic. This guy has gauntlets and a bunch of spiky areas, proving it difficult to just click and fill, never minding the shading. Here's how far I got before I gave up:

It looks close, but it was about halfway there and I spent far, far too long on this. So, I decided to use a program called Retas studio. It's a japanese program mainly known for digital coloring. Normally, you need a japanese computer to use it, and there are no english versions commercially available. However, you can find a copy if you're resourceful enough- Gugarts will help you with that.
However, most of the tutorials for this thing are in spanish, and there are very few of them. So, I did some messing around, and found that the "traceman" application within in aliases the lines for you to use in Paintman. Paintman is like god's gift if you like to color with shading. You can set it so your colouring automatically deletes the blue lines once it's been filled. There's a guy called "jet"who explained this in detail over on a TVpaint forum and on a bunch of other forums. If I ever run into some money and get TVpaint, I might try his technique for this, too: http://forum.tvpaint.com/viewtopic.php?f=10&t=9529
He's probably the most helpful anon I've come across when it comes to stuff like this, so i reccomend reading his posts, this is the stuff that only the japanese use, and it rarely gets explained to filthy gaijin like us.
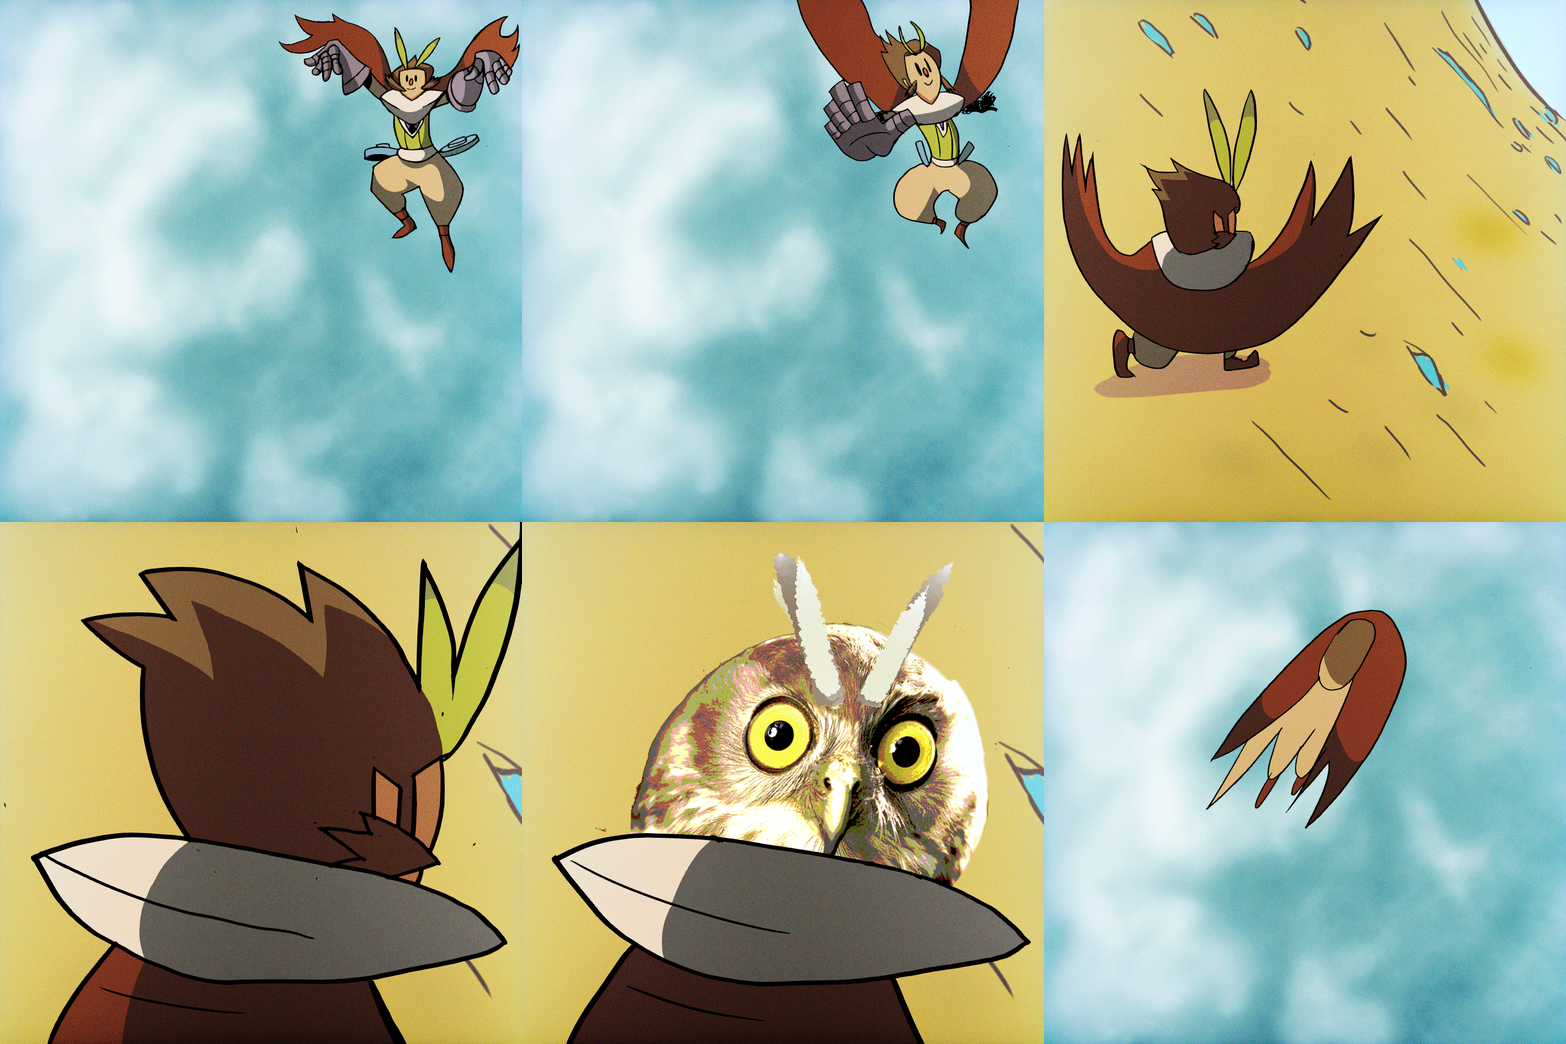
Anyway, from there, it was smooth sailing. It took half the time to color the final thing from the start in paintman than to color half of it in photoshop.
Next time, I'm thinking I should only use photoshop for really simple stuff. Under 30 frames. I really respect the people who use it for bigger stuff.
Here's the full res version for you guys:
